

Are you feeling bored and looking for something creative to do at home? Why not try your hand at some Indian crafts? It's not just fun but also a great way to connect with the country's art and culture. Here is a list of unique Indian crafts that you can try at home, from the colorful Rangoli to the intricate Cheriyal masks and much more. So, let's get started on this journey of creativity and discovery!
1. DIY Rangoli Colors
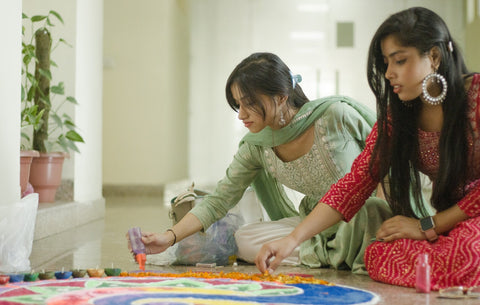
Rangoli is a traditional Indian art form that involves creating intricate designs on the floor or ground using colored powders, flower petals, or other materials. The colors used in Rangoli are vibrant and bright, and making your own set of Rangoli colors can be a fun and creative activity.
To make your own set of Rangoli colors, you will need some rice flour, water, and food coloring or acrylic paint. Here's how to do it:
- Take some rice flour in a bowl.
- In another bowl, mix some water with a few drops of food coloring or a small amount of acrylic paint. Mix well to ensure that the color is evenly distributed in the water.
- Slowly pour the colored water into the bowl of rice flour, stirring continuously to form a smooth, lump-free paste.
- Keep adding the colored water until you have the desired amount of Rangoli powder.
- Cover the bowl with a lid or plastic wrap and leave it to rest for 4-6 hours, or until the mixture has dried and hardened.
- Once the mixture has hardened, use a spoon or your fingers to break it up into small pieces or chunks.
- Store your homemade Rangoli colors in an airtight container until you are ready to use them.
By making your own Rangoli colors, you can customize the colors to your liking and create unique designs that reflect your personal style. Plus, it's a great way to add a personal touch to your Rangoli celebrations.
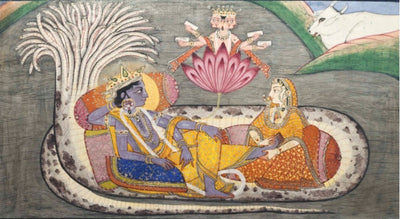
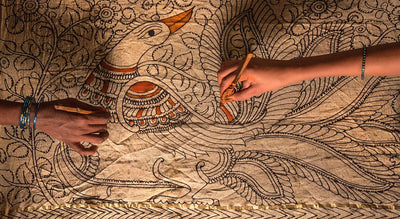
2. Get Crafty with Balloons: Make Your Own Cheriyal Masks!
Cheriyal masks are a unique art form that originated in Telangana, India. Traditionally made from wood and natural pigments, these masks were used by the Kaki Padagollu community for performances and storytelling. Now, you can make your own Cheriyal masks using a modern technique - balloons!
Here's how to do it:
- Inflate a balloon to the size you want your mask to be and use a marker to draw facial features on it. Draw a male face on one part and a female face on the other part.
- Use long strips of clay to cover the highlighted features on the balloon, creating a molded structure for the face.
- Cover the balloon and clay structure with tissue paper and glue. Make sure to add at least 3-4 layers of tissue paper over the balloon.
- Wait for the tissue paper to dry and harden, then separate the two heads by cutting them with scissors.
- Use plaster of Paris to cover the molded structure and create a sturdy base for your mask.
- Once the plaster has dried, remove any unwanted edges or bumps using sandpaper.
- Finally, use acrylic paint to define and furnish the mask with vibrant colors and patterns.
With these easy steps, you can create your own Cheriyal masks and add a unique touch to your home decor or use them for performances and storytelling. If you are interested in receiving more guidance, you can join this workshop that offers a materials kit and step-by-step video tutorial on how to make these masks. So, get crafty and give it a try!
3. Get Creative with Cool DIY Bangles!
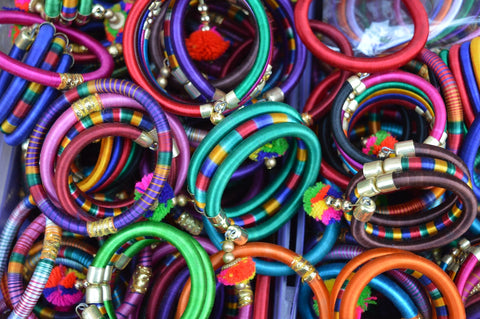
Bangles are an essential accessory in traditional Indian wear and come in a variety of styles and materials. But why settle for store-bought bangles when you can create your own unique designs at home? Here's how to make your own cool DIY bangles:
- Select wooden or glass bangles in the size and color of your choice.
- Apply glue around the surface of the bangles.
- Immediately wrap a few strips of colorful paper or lace around the bangle in a spiral or circular manner.
- Use the adhesive to secure the ends of the paper or lace to the bangle.
- Let the glue dry completely.
Once your bangles are dry, you can wear them to add a pop of color and creativity to your outfit. Mix and match them with your favorite clothes to create a unique look that reflects your personal style.
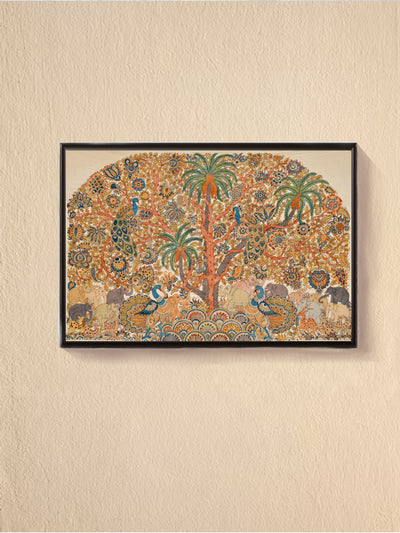
4. Upcycle Your Delivery Boxes into a Kavad
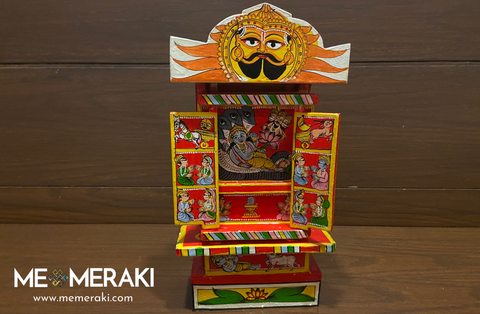
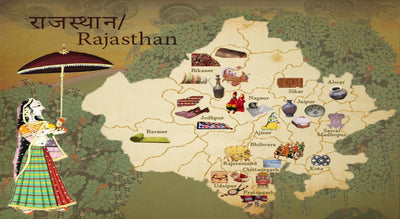
Cardboard is a versatile and durable material that can be used for a variety of DIY projects, including Kavad art. Kavad is a traditional art of storytelling that originated in the Chittorgarh district of Rajasthan and has been passed down for over five centuries. Now, you can create your own Kavad art using cardboard!
Here's how to do it:
- Take a rectangular cardboard box. You can even reuse one of your online goods delivery boxes.
- Use a flat brush to apply a thin layer of gesso (a mixture of 1 part acrylic polymer gloss, 1 part white acrylic paint, and 1 part chalk powder) to the cardboard to create a smooth, primed surface.
- Open one side of the cardboard box to create two doors and replicate the structure of the Kavad box.
- Once the box is ready, use acrylic paint to create a series of stories on the panels and doors of the Kavad box. Use this guide to paint your stories.
If you don't want to make the Kavad box from scratch, you can also purchase a ready-made Kavad box from the official memeraki website.
Whether you are looking to add a personal touch to your home decor or create unique pieces for your loved ones, these crafts are a great way to do so. So, get your creative juices flowing, grab your materials, and start crafting!
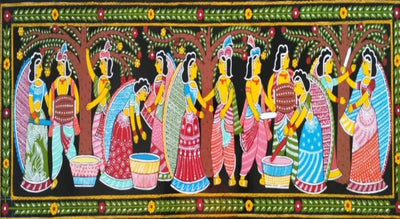
5. Create Beautiful Lippan Hangings
Lippan art is a traditional form of decoration from the state of Gujarat in India. You can bring a touch of this beautiful art into your home by creating your own Lippan art hanging. Here's how:
- Cut 4-5 square or circular pieces of cardboard.
- Sketch your desired patterns and outlines onto the cardboard using a pencil.
- Roll out the clay and apply it to the cardboard to create the traditional or funky patterns.
- Roll the clay into strings and apply them to the patterns.
- Paint the spaces on the board using acrylic colors.
- Highlight the patterns with white paint.
- Stick glass pieces onto the board to complement the patterns.
- Take a long string and attach it to the back of the board so that a loop is formed at one end.
- Attach trinkets and bells to the other end of the string.
With these simple steps, you can create a beautiful Lippan art hanging that will add a touch of elegance to any room in your home. So, gather your materials and get started on your masterpiece today!
These crafts are quick, easy, and fun to make at home! However, if you want to take your skills to the next level and create authentic pieces, there's nothing like learning from the masters themselves. That's why we recommend joining Memeraki Masterclasses or live workshops where you can learn directly from skilled artisans and get a deeper understanding of these crafts. Not only will you be able to create your own unique pieces, but you'll also be supporting traditional art forms and the artisans who keep them alive. So why wait? Sign up for a workshop today and unleash your creativity!


0 comments